Create a new 450X350 pixels document. Then create a new layer "Ice". Use Horizontal Type Tool and write the ice text, BURN ICE for example, with "DS SonOf" type and 85 pt and fill it with any color.
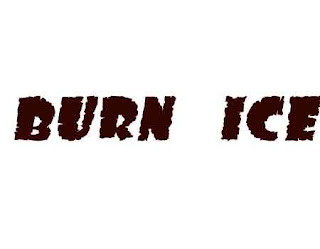
Step 2.
Apply Layer > Layer Styles > Blending Options with the following settings:
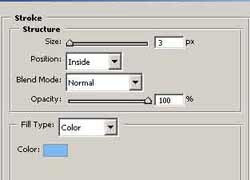
Stroke (color-> #6fbdf3)
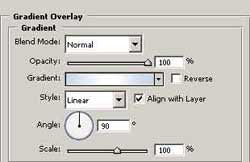
Gradient Overlay (color-> #c8dbea)
Color Overlay (color-> #9ad6df)

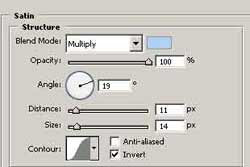
Satin (color-> #a6d5f5)
Bevel and Emboss (color-> #76c0de)
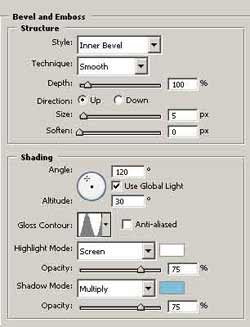
Contour

Texture
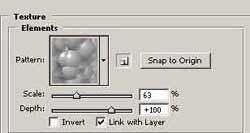
Step 3.
Apply Filter > Stylize > Wind with the following settings: Method-> Wind,Direction -> From the Right.
Step 4.
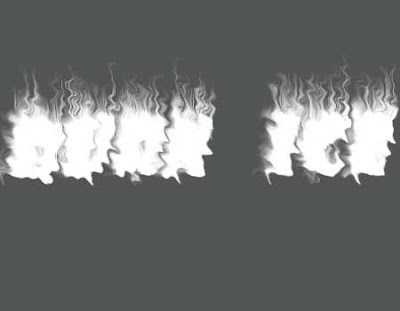
Create a new layer "Burn" with the same text with dark grey background for the burn text. Remove BURN text a little left from the Ice text.
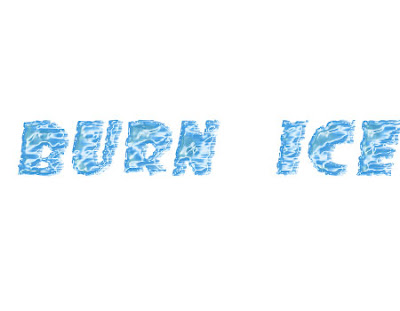
Step 5.
Apply Filter > Stylize > Wind with the following settings: Method-> Wind, Direction -> From the Right. Then apply Edit > Transform > Rotate 90 CCW. Apply Filter -> Stylize -> Wind two times with the following settings: Method -> Wind, Direction -> From the Right. Then apply Edit > Transform > Rotate 90 CW. Duplicate this layer.
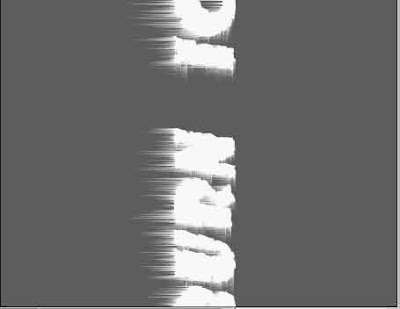
Step 6.
Go to "Burn copy" layer and apply Filter > Distort > Ripple with the following settings: Amount -> -258, Size -> Medium and then press Ctrl+E to merge down this layer with "Burn" layer.
Step 7.
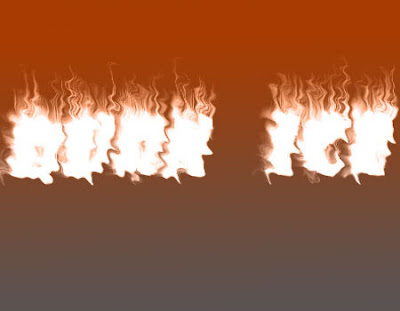
Then apply Reflected Gradient Tool with dark orange and black color on half and run across your screen to color your image. Then set the blending mode 'color' for this layer.
Step 8.
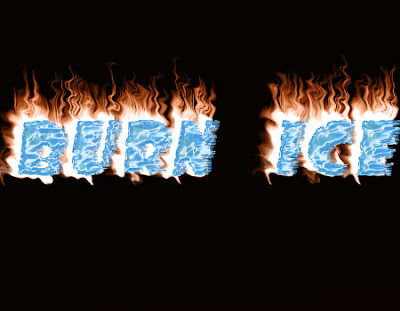
Switch layers with ice and burn texts and you receive the burn ice, but for good result we need change the background on black color. And you can get something like that.


0 comments:
Post a Comment